The Steady Hand Buttonhole: A Gentle Guide for First-Time Sewists
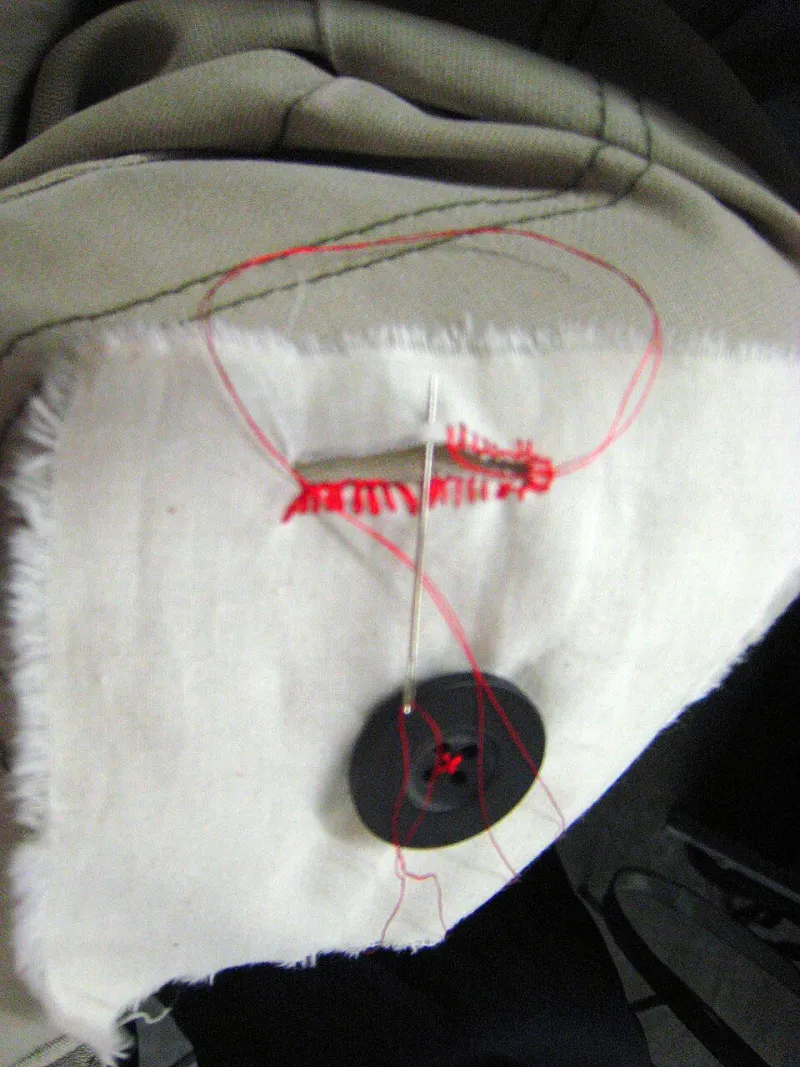
Photo: SharonaGott, CC BY 2.0, via Wikimedia Commons
Hand-worked buttonholes have a reputation for being fiddly, old-fashioned and best left to people with steadier hands. That is a shame, because the skill is learnable. It asks for a sharp needle, a bit of patience and a scrap of fabric to practise on—not a natural gift.
What you are making
A hand-worked buttonhole is a slit with a neatly stitched edge. In the UK we call it a buttonhole, not a button hole, and the stitch that does most of the work is buttonhole stitch, which is very close to blanket stitch. The aim is not machine-perfect uniformity. The aim is a firm, tidy opening that will not fray, with two little bar tacks at the ends to take the wear.
It is worth saying plainly: your first one may look a bit wobbly. Mine did. The second will be better. By the fifth, you will have found a rhythm.
Gather a small, kind kit
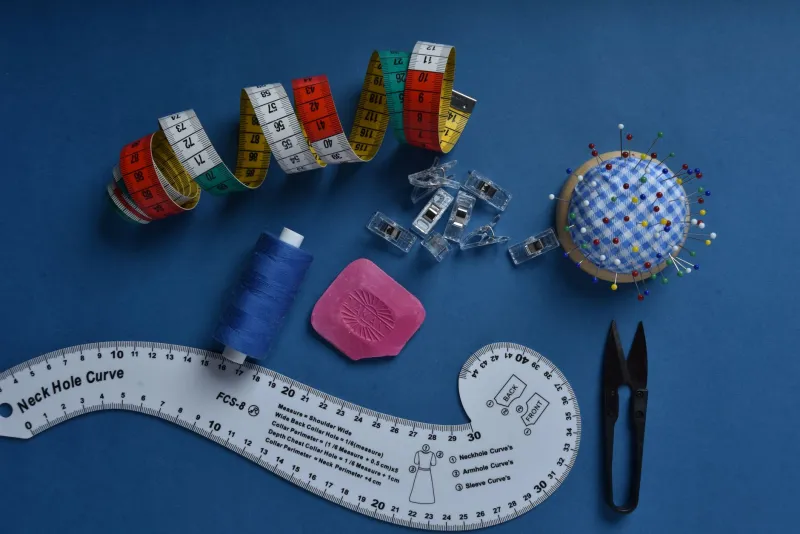
You do not need much. A fine hand-sewing needle, a spool of buttonhole twist or silk thread in a matching colour, a little beeswax, small sharp embroidery scissors, tailor's chalk or a removable marker, a ruler and a piece of tear-away stabiliser or iron-on interfacing will see you through. Add a thimble if you like one, a few silk pins and a seam ripper for the inevitable unpicking. A soft toothbrush is useful for brushing stray fibres away from the cut edge.
Thread matters more than beginners expect. Ordinary all-purpose thread can work, but buttonhole twist is stronger and gives a fuller, more traditional edge. Waxing the thread reduces tangles and helps it slide through the fabric. Cut a length no longer than your arm; long thread twists, knots and tests your patience.
First, practise on scraps
Before you go anywhere near a garment, make a practice buttonhole on a scrap of calico. Interface the back of the scrap, or add a small patch of tear-away stabiliser. Mark the length of the opening: the diameter of your button plus its depth, plus about 3mm of ease. Cut a test slit with small sharp scissors, and work buttonhole stitch around it.
Bring the needle up through the slit, loop the thread around the needle, and pull it through to form a small knot at the edge. Keep the stitches close, even and firm, but do not pull so tightly that the fabric puckers. Work all the way around, then make a bar tack at each end by sewing several straight stitches across the width of the buttonhole. Test the button. If it passes through comfortably without stretching the opening, you have got it. Repeat until the rhythm feels familiar.
The calm sequence for the real thing
Mark the buttonhole on the garment with tailor's chalk or a removable marker. Check the button again—there is nothing more irritating than a beautiful buttonhole that is 2mm too small. Stabilise the wrong side. If the fabric is fine or slippery, add a small square of lightweight interfacing; if it is thick, choose a lighter stabiliser so the buttonhole does not become bulky.
Cut the slit slowly, using the tip of small sharp scissors. Keep your fingers clear of the blades and cut in small snips rather than one dramatic chop. Then stitch around the opening with buttonhole stitch, keeping the knots sitting neatly against the cut edge. Finish each end with a bar tack. Press the buttonhole from the wrong side over a thick towel, and avoid ironing the stitches flat.
Common mistakes, gently corrected
The most common problem is spacing. Stitches that are too far apart let the raw edge peek through; stitches that are too tight make the buttonhole rigid. Aim for consistency rather than perfection. Another common mistake is skipping the stabiliser, especially on lightweight fabrics, which leads to puckering and a stretched opening. Cutting the slit too long is also easy to do. Mark the length, measure the button and cut less than you think you need; you can always adjust the button, but you cannot easily shrink a hole.
Use a thread that is strong enough for the job, and do not fight with a needle that is too thick. If the fabric is bulky, trim the seam allowances inside the buttonhole before stitching. If the buttonhole is on a curve, take it slowly and keep the stitches perpendicular to the edge. And if it goes wrong, unpick it. A seam ripper is cheaper than a new garment.
For small creative businesses
A hand-worked buttonhole is a lovely detail to offer on made-to-order clothing, cushions and bags. It signals care, and customers notice. If you are making them regularly, keep a notebook of the thread, needle and stitch count you used for each fabric, and make a sample card so you can show customers the difference between a machine buttonhole and a hand-worked one. Price the time honestly. Handwork is not a shortcut; it is part of the value.
Above all, give yourself permission to go slowly. A buttonhole is a small thing, but it is also a quiet lesson in patience. A sharp needle, a steady breath and a scrap of calico are all you need to begin.