A Pocket for Every Morning: Sewing a Reusable Notions Advent Calendar
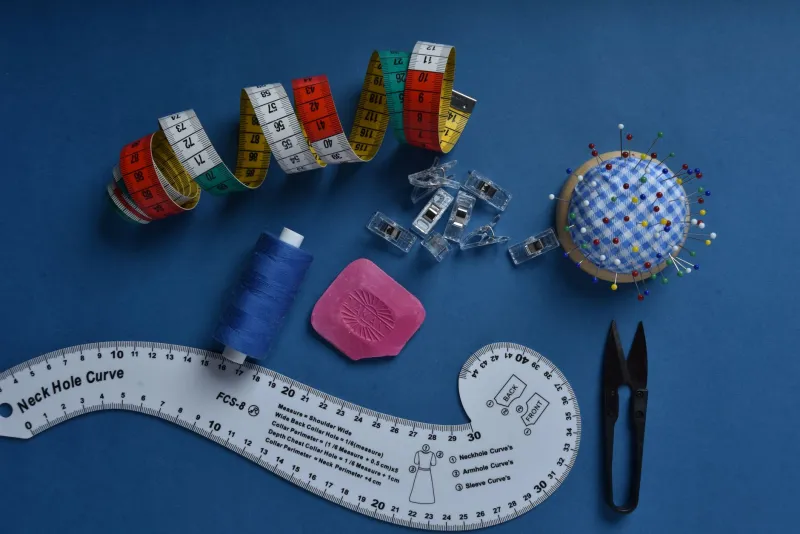
December mornings deserve a small ritual. A cup of tea, a quiet minute before the day properly begins, and one little pocket to open. If your idea of a treat is a card of vintage buttons or a metre of narrow velvet ribbon, a haberdashery advent calendar is a lovely thing to make—and to use again next year.
Start with the bones, not the filling
A reusable fabric calendar does not need to be complicated. The version I like best is a simple wall hanging with four rows of six pockets, bound at the edges and finished with a hanging loop. Use a sturdy cotton or linen for the front, calico for the backing and a thin layer of wadding if you want it to hang with a little softness. The pockets can be made from scraps, old shirts or fat quarters, which keeps the project friendly to both your stash and your budget.
Cut the pockets generously. A pocket about 9cm wide and 10cm deep will hold a card of buttons, a small spool of thread or a folded length of ribbon without a struggle. Leave the top edge of each pocket slightly loose, and reinforce the corners with a small backstitch. If you plan to include anything bulky, such as a tape measure or a packet of needles, make one or two pockets deeper. Number the pockets before you sew them down, using embroidery, a fabric stamp or a fine permanent marker on a scrap of tape. The numbers are part of the charm, and they stop December becoming a daily guessing game.
Fill it without blowing the budget
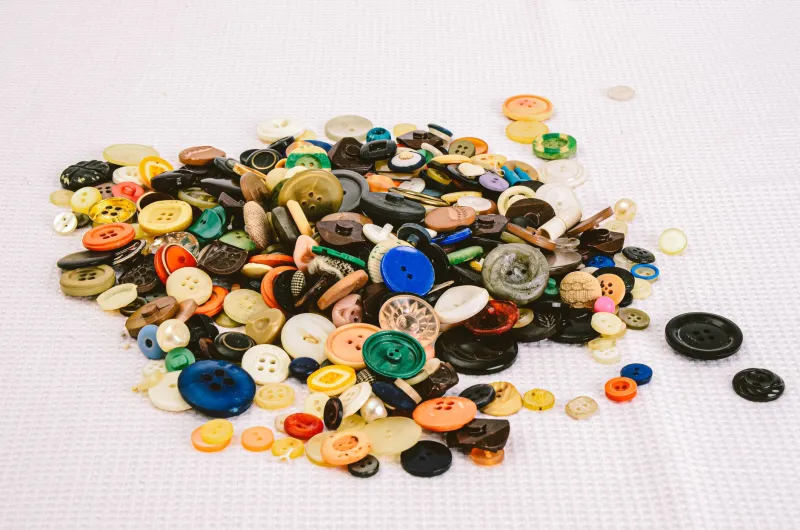
You do not need twenty-four expensive treats. The pleasure is in the smallness: a single beautiful button, a short length of ribbon, a packet of snaps, a tiny tin of pins. In the UK, independent haberdasheries, market stalls and sewing shops often have bargain boxes and remnant baskets that are perfect for this. Charity shop button tins can be sorted and shared between two calendars. Online shops that sell deadstock ribbon or end-of-line trims are worth a look, and a local sewing group swap is both cheaper and more sociable than buying everything new.
A sensible approach is to set a budget and then split multi-packs. One card of six buttons can become six days. A metre of ribbon can be cut into four lengths. A pack of assorted hand-sewing needles can be divided into small glassine envelopes or fabric pouches. Use what you already have, too: leftover thread, odd snaps, a spare thimble, a pretty tag from a past purchase. The calendar does not have to be perfectly matched. In fact, a little mix of vintage and new feels more like a real maker's stash.
Match the notion to the maker
If you are making the calendar for yourself, choose things you will genuinely use. If it is a gift for a sewing friend, pitch each day at their comfort level. For a beginner, think large buttons, ribbon, elastic, felt shapes and a simple needle book. For someone with a little more experience, add bias binding, D-rings, a small zip, snaps or a pretty piece of lace. For a confident sewist, include the tiny treasures: fine glass buttons, a frog closure, silk thread or a length of special trim they would admire but might not buy for themselves.
A small business owner may appreciate practical notions as well as pretty ones: kraft tags, logo labels, tiny scissors or a good seam ripper. Just keep the calendar personal. A day that says, in effect, I thought you would enjoy this is far better than a day that feels like stock rotation.
Wrap small, wrap kindly
Half the fun of an advent calendar is the unwrapping, but it does not need to create a bin bag of plastic. Use fabric scraps tied with cotton thread, paper offcuts folded into little envelopes, or small reusable drawstring bags. Brown paper and paper tape look lovely and can be recycled. Tissue paper is fine if you already have it; avoid glitter, plastic confetti and anything that will still be around next December.
Keep each parcel small enough to slide into its pocket. A tiny card can suggest a use for the notion, but a fabric scrap label is just as good and less wasteful. If you are posting the calendar, leave the pockets empty and send the filled parcels separately, or choose flat notions that travel well.
Sew it to last
Pre-wash your fabrics so the calendar does not shrink after its first outing. Use strong thread for the pocket seams, and stitch a double line at the top edge of each pocket where the strain will be. Add a rod pocket or a pair of hanging loops at the top, and check the whole thing hangs evenly before you fill it. Store the calendar rolled around a cardboard tube, with the parcels in a labelled tin, and it will be ready to go again next year.
The best advent calendars are not the most extravagant. They are the ones that make you slow down for a minute and notice something small and lovely. A button, a ribbon, a bit of thread: twenty-four tiny reasons to sit down and make something.