What’s Hiding in the Biscuit Tin? A Winter Sort-Out for Old Buttons
Photo: Joe Haupt from USA, CC BY-SA 2.0, via Wikimedia Commons
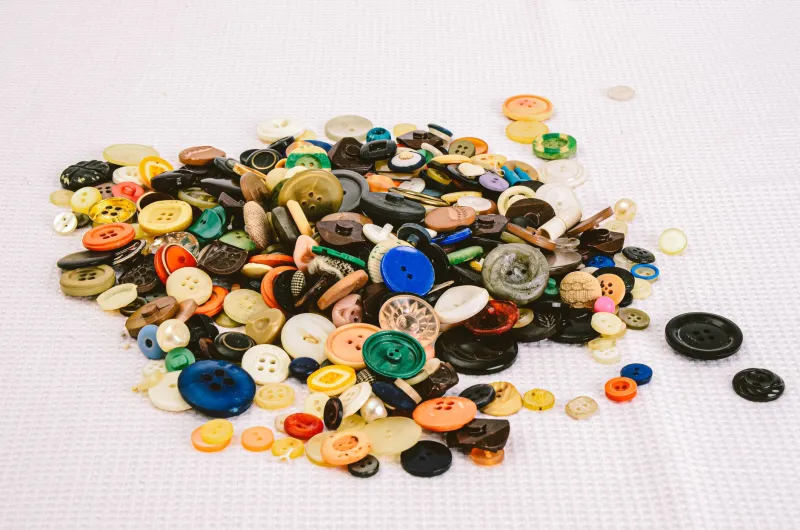
There is a particular kind of magic in an old biscuit tin. Lift the lid and you are met with a dry, metallic little sigh, a smell of dusty fabric and decades of loose buttons sliding about like pebbles on a beach. Most UK crafters have one: inherited from a grandmother, rescued from a car boot sale, or assembled over years from charity-shop finds and forgotten sewing boxes. November is the perfect month to give that tin a proper audit. The garden is quiet, the evenings are long, and a pot of tea plus a tray of buttons is a far more satisfying winter project than another scroll through the phone.
The aim is not to create a perfect, museum-standard collection. It is to understand what you have, care for it gently and finally use the loveliest pieces rather than leaving them to rattle around for another decade.
Begin with a gentle sort, not a ruthless cull
Spread an old towel or a felt mat over the kitchen table. Tip the tin out in small batches — no more than a couple of handfuls at a time — and sort by colour first. Whites, creams and pearls in one pile; blacks and greys in another; brights, metallics and oddities in their own groups. Colour sorting is forgiving and quick, and it lets you notice repeats and pairs without getting bogged down in history.
Keep a small dish for instant favourites and another for damaged pieces. Do not throw anything away yet. A cracked button can still be lovely in framed art, and a lonely ornate one might become a brooch or a card topper.
Read the material by sight, sound and touch
Old buttons tell you what they are if you pay attention. Casein buttons, made from milk protein, were common in the early to mid-twentieth century. They feel slightly warm and soapy, often have a soft lustre and may show fine crazing. Horn buttons are heavier and warmer still, with natural striations and a faint organic smell if you rub them. Glass buttons catch the light sharply and feel cool and smooth; look for painted backs, tiny bubbles and moulded patterns. Bakelite and other early plastics are usually lightweight but dense, with a satisfying clack when tapped together. Modern plastic buttons are lighter, more uniform and often have a crisp mould line.
Sound is surprisingly useful. Tip a few buttons onto a wooden surface and listen. Glass gives a bright tick. Horn and casein sound duller. Metal shanks ring slightly. Plastic has a hollow clatter. Feel the edges, too: old buttons were often finished by hand, so rims may be slightly uneven.
Spotting the genuinely old ones
Age is not everything, but it is lovely to know when a button predates your grandmother’s sewing box. Look at the back. Metal shanks, especially those with maker marks, can point to the Victorian and Edwardian eras. Sew-through holes arranged in a square or a cross are common on older utilitarian buttons, while unusual hole patterns can suggest a specific maker or period. Patina matters: old horn deepens in colour, early plastics yellow slightly, and metal develops a soft bloom rather than bright rust.
Be sceptical of perfect matching sets. Buttons were often replaced one at a time, so a cardigan may carry five identical buttons and one charming imposter. That is not a fault — it is a record of repair and thrift. If a button has a backmark, jot it down before you store it. Makers’ names can be a rabbit hole in the best possible way.
Clean kindly, not aggressively
Most old buttons only need a soft brush and a dry cloth. For washable glass and modern plastic, use lukewarm water with a drop of mild washing-up liquid, agitate gently and rinse quickly. Never soak horn, casein, painted glass, fabric-covered buttons or anything with a metal shank. Water can lift paint, dull horn and encourage rust. Remove loose dust from crevices with a cocktail stick or a soft toothbrush, and dry everything on a towel for at least a day before storing.
Avoid vinegar, bleach, abrasive cleaners and ultrasonic jewellery cleaners unless you are certain of the material. When in doubt, dry-clean only: a soft brush and patience.
Store for the next generation
A compartmented craft box lined with acid-free tissue is ideal, but small cotton drawstring bags, clean jam jars and old cutlery trays work beautifully too. Keep buttons out of direct sunlight, which fades early plastics and painted glass, and away from damp sheds and hot radiators. If you are storing metal shanks, add a little silica gel sachet to the box and check it occasionally.
Label what you know. A slip of paper reading Great-aunt Edie’s coat buttons, 1950s is worth more than a perfect sort. Future you will be grateful.
Ten charming ways to use the best of them
- Make a heritage button cushion: stitch a simple linen square, then arrange a dozen favourite buttons in a loose heart or grid and sew them on firmly.
- Frame a button portrait: glue or stitch buttons onto card in a colour gradient, then mount in a deep box frame.
- Create a Christmas garland: thread mixed metallic and pearl buttons onto strong cotton with small knots between each one.
- Turn a special button into a brooch: sew it to a circle of wool felt, add a brooch pin to the back and finish with a tiny bead.
- Use mismatched beauties as cardigan closures — deliberately odd buttons look charming, not careless.
- Make napkin rings by threading elastic through large shank buttons and knotting securely.
- Stitch a memory jar label: choose one button from each family member’s old clothes and attach them to a jar filled with written memories.
- Embellish a notebook closure with a button and a loop of waxed cotton.
- Create button bouquet stems: wire small buttons onto floristry wire and group them with dried lavender.
- Make a simple button necklace by threading graduated buttons onto leather cord, knotting between each one.
Finally, keep a small working jar of your favourites near your sewing chair. The real joy of an audit is not a tidy tin — it is reaching for a button that already has a story, and giving it a new one.