Where the Straight Line Stops: Siting Buttons on Curves, Corners and Close Quarters
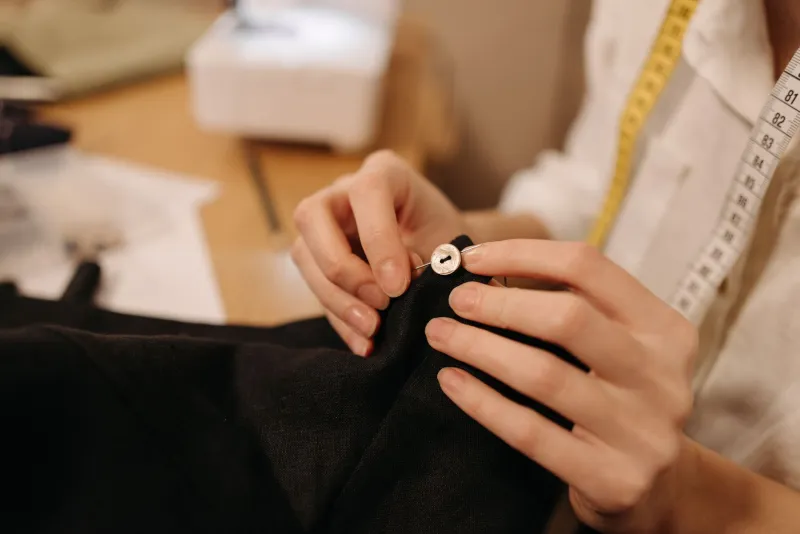
There is a lovely moment in dressmaking when you lay a finished bodice on the table, reach for the button tin and think: right, where do you lot go? On a plain front placket the answer is almost smug in its simplicity. Mark the centre line, divide it evenly, sew. But handmade clothes rarely stay that tidy for long. Necklines curve, cuffs taper, collar stands sit up and narrow bands ask you to fit a fastening into a space that feels more suited to a very small biscuit.
This is where button placement stops being arithmetic and becomes a bit of a conversation between you, the cloth and the way the garment will actually be worn. The good news is that none of it requires a maths degree. It does require a little patience, a scrap of similar fabric and a willingness to move a button by four millimetres if that is what the garment wants.
Start with the closure, not the button
Before you mark a single hole, decide what the fastening is doing. A button on a curved neckline is usually decorative or lightly functional — it holds a facing in place, or gives the eye somewhere to rest. A button on a cuff or a narrow placket has to work for its living. It will be opened and closed, possibly in a hurry, possibly by someone wearing a coat and wondering why the bus is late.
That difference changes everything. On a curved neckline you can afford a slightly looser spacing and a smaller button. On a cuff or a close-fitting band, the button needs room to pass through the buttonhole without dragging the fabric out of shape. If the band is narrow, the buttonhole itself may need to run across the band rather than along it, and that decision has to happen before you cut anything.
A useful habit is to pin the garment closed on a dress form or on yourself, using the overlap you intend. Then look at where the fabric naturally wants to sit. Mark those points with tailor's chalk or a washable pen. You are not looking for perfect intervals yet; you are looking for the places where the closure actually needs support.
Spacing along a curve
On a straight edge, spacing is measured along the buttonhole line. On a curve, that line is longer than it looks. If you mark equal distances along a neckline using a rigid ruler, the buttons can end up crowded at the tightest part of the bend and strangely lonely at the flatter sections.
Use a flexible tape measure instead, or mark the seam line with a soft pencil and walk a small set of dividers along it. The aim is equal distance along the curve, not equal distance across the room. On a deep scoop neck you may also want to shift the top button slightly towards the shoulder so it does not sit directly on the steepest part of the bend, where buttonholes have a habit of gaping.
If the curve is cut on the bias, give it a little respect. Bias edges move. Interface the facing or add a strip of stay tape before you mark your buttonholes, then leave the garment to hang overnight. A button placed on a bias edge that has stretched by lunchtime is a button that will look drunk by teatime.
Corners, collar stands and the case for a test scrap
Corners are where button placement gets quietly dramatic. A button too close to a corner can pull the point out of shape; too far away and the corner flaps open like a window. The same is true at the base of a collar stand, where a button often has to sit in a very small patch of real estate between the seam and the edge.
This is the moment to make a test scrap. Cut two pieces of the same fabric, interface them as you have interfaced the garment, and sew a practice buttonhole. Then sew on the button and do it up. Open and close it five times. You will learn more from that scrap than from any chart. You will see whether the buttonhole stretches, whether the button sits proud, and whether the corner wants a slightly smaller button than you had planned.
On a collar stand, consider a button that is one size smaller than the rest of the garment. It will still read as part of the family, but it will sit more comfortably in a narrow space and put less strain on the stand. If the stand is very narrow, a small snap or a hook and bar can be a kinder choice, with a decorative button stitched on top for the look of the thing.
Narrow bands and close quarters
Narrow plackets, cuff bands and waistbands are not the place for a button that wants to be the centre of attention. They are the place for a button that fits. As a rough guide, leave at least the width of the button plus a little breathing room between the button edge and the edge of the band. If that leaves no room at all, the band is telling you something: go smaller, or choose a different fastening.
On cuffs, check the button against the wearer's hand before you commit. A cuff that fastens beautifully on the table can be a small ordeal at the wrist. Place the button where the cuff naturally overlaps when the arm is relaxed, not where it sits when the cuff is pulled tight. If you are making for someone else, ask them to try it on with the buttons pinned, not sewn.
Narrow bands also benefit from a bit of hidden support. A small square of interfacing behind each buttonhole, or a strip of selvedge stitched into the seam allowance, will stop the band from collapsing around the button. It is the sort of thing nobody notices until it is missing, and then it is the only thing they notice.
The four-millimetre rule
Here is the charmingly unscientific part: once everything is marked, sewn and pressed, try the garment on and move one button by four millimetres. Just one. See what happens. Sometimes nothing changes. Sometimes the whole front sits better, the neckline stops gaping and the garment suddenly feels less like a project and more like a piece of clothing.
Handmade garments are full of these small negotiations. A button is not a full stop; it is a punctuation mark. Put it where the fabric and the body agree, and the rest of the garment will thank you for it.
If you are building a button box for this sort of work, keep a few smaller sizes in the same finishes as your favourites. A 15mm corozo in navy and a 12mm in the same shade will get you out of more narrow-band trouble than any ruler ever will.