Four Holes, Three Paths: Choosing a Stitch That Holds
Four-hole buttons are the quiet majority of any button tin. They turn up on shirt cuffs, cardigan bands, winter coats and the kind of useful apron that lives on the back of a door. Because they are so familiar, it is easy to treat them as a two-hole button with extra holes. They are not. The four-hole layout is a small grid of choices, and the path you take with your needle changes how the button sits, how long it lasts and how the fabric behaves underneath.
The quiet geometry of a four-hole button
A four-hole button gives you three useful routes: two parallel bars, a cross, or a square. Each route spreads the strain in a different way. None is wrong, but each has a natural home. The holes themselves are usually set in a square or a slightly rectangular pattern. That spacing is what lets you build a stable attachment without the button pulling tight against the cloth.
A short history of the crossed thread
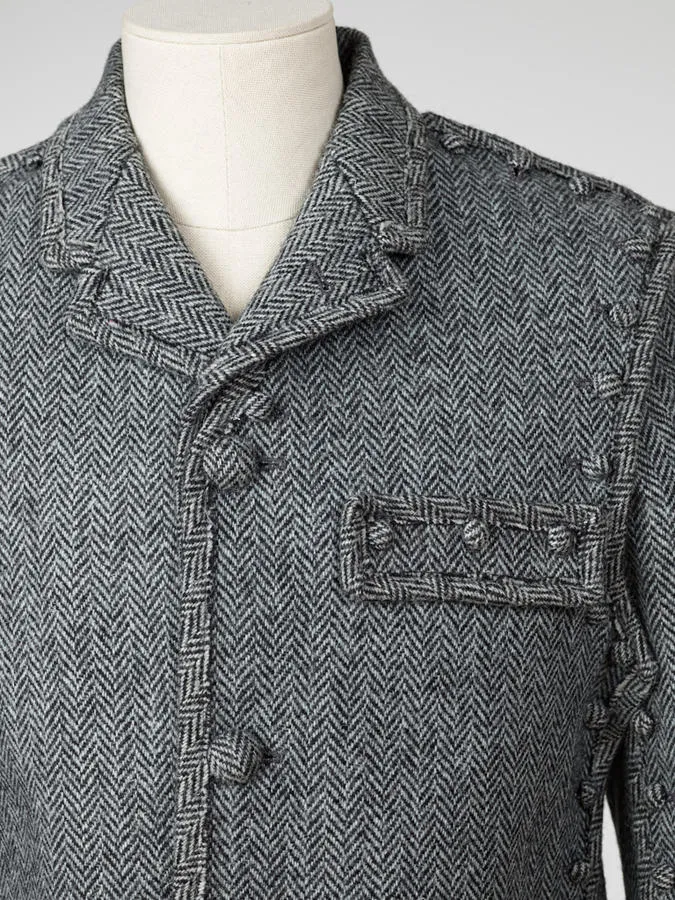
Cross-stitched attachment has a long working history. It appears on uniforms, workwear and heavy coats because an X-shaped stitch spreads the load across four points rather than two. In Britain, the crossed thread is part of the visual language of school blazers, duffle coats and old wool overcoats. It is practical first and decorative second, which is usually the best order for a button. The cross also creates a natural little shank if you sew over a matchstick, lifting the button slightly so the fabric can breathe.
Three paths, three jobs
Parallel: the neat everyday
Two parallel stitches are the tidiest option. They suit shirts, blouses, cuffs and lightweight fabrics where you want the button to sit flat and unobtrusive. Use a fine thread and small stitches. Parallel sewing is not the strongest attachment in the box, but for a low-stress button it is perfectly adequate. It also lets a patterned shirt button blend in rather than shout.
Cross: the workhorse
The cross is the strongest of the three. It is the one to choose for coats, heavy wool, bags, work aprons and anything that will be tugged. The X spreads tension across the button and the fabric, which helps prevent the thread from sawing through the cloth. Sew over a matchstick or cocktail stick to leave a shank, then wrap the thread around the shank before finishing. That little neck of thread is what gives a thick coat button room to sit over a buttonhole without straining.
Square: the steady one
The square pattern — stitching around the four holes in a box — keeps the button from rotating. It is a good choice for knitwear, jerseys and medium-weight fabrics that need a bit of stability without the bulk of a cross. A square attachment with a thread shank holds a cardigan button steady while still allowing the knitted fabric to move. It is also a useful pattern for beginners because the path is easy to see and remember.
Match the stitch to the garment
| Garment | Stitch | Why it works |
|---|---|---|
| Heavy coat or duffle | Cross, with shank | Spreads strain and gives room for thick cloth |
| Shirt or blouse | Parallel | Flat, neat and low-bulk |
| Cardigan or knitwear | Square, with shank | Stops twisting and lets the knit move |
| Bag or work apron | Cross | Strongest hold for pulling and weight |
The shank matters more than the pattern
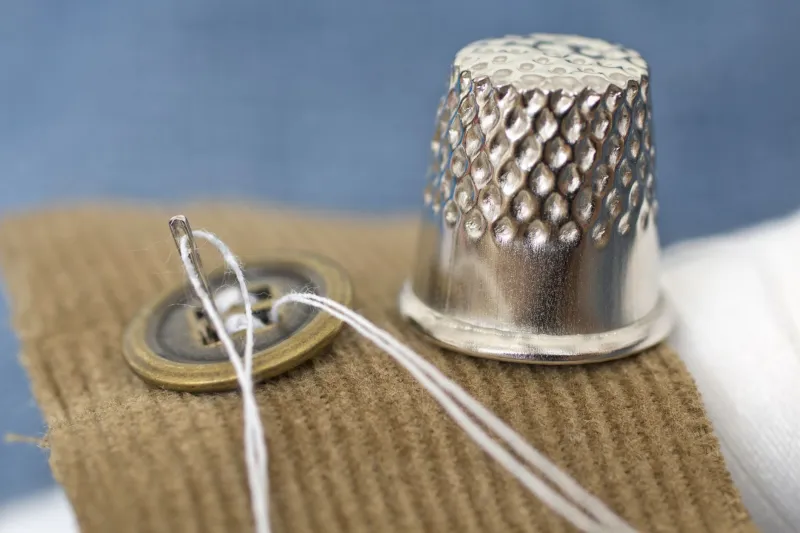
Whichever path you choose, the shank is the detail that separates a good buttoning job from a tight, puckered one. A shank is simply a small gap of thread between the button and the fabric. On coats and knits it is essential. Sew over a matchstick, a cocktail stick or a thick needle, then remove it and wrap the thread around the stitches underneath the button. Finish with two or three back stitches on the reverse. Do not knot tightly on the front; a small knot hidden under the button is kinder to the fabric.
A small UK notions list
- Gütermann Sew-All or extra-strong thread for heavier buttons
- John James hand-sewing needles, sizes 7 to 9
- A matchstick or wooden cocktail stick for making a shank
- Beeswax from a local craft supplier to strengthen thread
- Small sharp embroidery scissors for trimming close
- Calico or cotton scraps for practise squares
- A simple button gauge or ruler for checking sizes
- A needle minder or small tin to keep everything together
Nothing on that list is exotic. Most of it is already in a sewing box, which is rather the point. Four-hole buttons do not demand specialist equipment; they reward a little attention.
Teaching beginners at a sewing group
If you run a sewing group, four-hole buttons make a generous teaching subject. Start with a 30mm button and a contrasting thread so everyone can see the path. Draw the three routes on a handout — parallel, cross and square — and let people trace them with a finger before they thread a needle. Use calico squares in embroidery hoops or just held flat. Demonstrate the matchstick shank once slowly, then let the group try. The most common beginner mistake is sewing too tightly, so show what a puckered button looks like and how a shank prevents it. Keep the session short: one button, three paths, one good finish. That is enough for a first evening.
A button that earns its place
Four-hole buttons are not fussy. They are a small grid of practical choices, and most of us have a tin full of them. Next time you pick one up, decide whether it wants a neat pair of bars, a working cross or a steady square. The button will do the rest. At ButtonBox Supplies, we like a button that earns its place — and a four-hole button, sewn with intent, earns it every time.