When a Button Won't Do: Toggles, Loops and Fastening Heavy Winter Wool
Photo: close-up horn toggle and cord loop on navy wool duffle coat, via img.freepik.com
There is a moment each November when a favourite coat stops being merely warm and becomes a small engineering problem. The wool has thickened, the wind has arrived, and the buttonhole that behaved perfectly in October now feels like a tight little tunnel. This is the season when toggles come into their own.
Toggles are not a decorative throwback. On heavy cloth they are a genuinely sensible fastening: forgiving, adjustable and kind to cold fingers. If you make, repair or simply wear winter coats, it is worth understanding how they work — and how to keep the loops in good order.
Why heavy cloth asks for a different answer
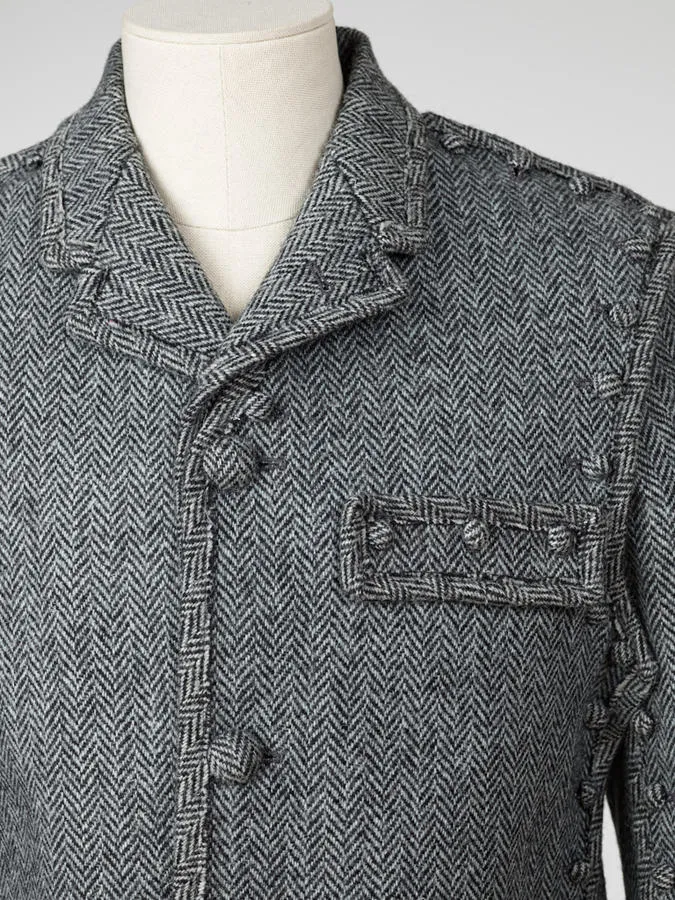
A button and buttonhole work best when the fabric is willing to slide through itself. On a closely woven wool, a melton, a boiled tweed or a thick felted coat, that slide becomes a wrestle. The buttonhole has to be large, reinforced and carefully placed, and even then it can distort the front of the coat over time.
A toggle closure sidesteps the problem. Instead of pushing a button through a slit, a loop passes over a bar or toggle and settles into place. The tension is spread across the loop rather than concentrated at one point. It is easier to fasten with gloves on, easier to adjust when you are wearing a chunky jumper underneath, and far more forgiving if the coat is a little generous or a little snug on any given day.
That is why duffle coats, capes, blanket coats and heavyweight work jackets have leaned on toggles for generations. The fastening suits the cloth. It also suits the way we actually live in winter: hurriedly, in bad light, with hands that would rather not be bare.
Horn, wood, cord and the honest plastic
The toggle itself is only half the story. The loop matters just as much, and the two need to be in proportion. A slim cord loop will not hold a heavy horn toggle comfortably; a thick leather loop can overwhelm a small wooden one.
Horn is the traditional choice for duffle coats. It is warm to the touch, develops a gentle sheen with wear and feels substantial without being excessively heavy. Horn varies in colour, so if you are replacing a set, buy them together or accept a little natural variation. Keep horn away from prolonged soaking and harsh detergents; a wipe with a damp cloth and an occasional touch of neutral wax or oil will keep it content.
Wood is lighter and often more affordable. Olive, beech and boxwood toggles bring a soft, matte texture that suits boiled wool and cape-style coats. Check the grain and the finish — a well-sanded toggle should feel smooth in the hand, with no splinters lurking around the hole or shank.
Cord toggles — the soft, knotted kind — are lovely on lighter capes and unstructured jackets. They are gentle, quiet and easy to replace, but they are not the best choice for a coat that will be hauled on and off daily in driving rain.
Plastic has its place, especially on children's coats and budget makes. Choose a matte finish rather than a high shine, and check that the toggle has a proper shank or hole rather than a moulded loop that will crack. It will not age like horn or wood, but it can still do the job well.
The loop, the bar and the bit everyone forgets
A toggle closure is a small system: the toggle, the loop that passes over it, and the anchor that holds the loop to the cloth. That anchor is often a bar, a backing button or a reinforced stitched tab. When a loop fails, it is usually not the toggle's fault. The cord has frayed, the stitching has loosened, or the anchor has pulled through unsupported fabric.
Good loops are made from something with very little stretch: waxed cotton cord, strong linen thread, narrow leather thonging or a firm woven tape. Avoid elastic entirely. The loop needs to hold its shape, not spring back.
Spacing matters too. Toggles placed too far apart let the coat gape; too close together and the cloth puckers. If you are designing from scratch, mock up the spacing with pins and try the coat on over your thickest winter layer before you commit.
Step-by-step: replacing a worn toggle loop
This is a satisfying repair, and it is well within reach of most sewists. You will need a seam ripper, sharp scissors, a strong needle, heavy-duty thread, replacement cord or tape, a thimble if you use one, and a little beeswax.
-
Remove the old loop carefully. Use the seam ripper to unpick the stitches holding the loop or its anchor. Work slowly so you do not nick the coating fabric. Keep the old loop nearby as a length guide.
-
Check the anchor. Look at the bar or backing button. If the fabric around it is worn or stretched, reinforce it with a small patch of interfacing or a closely woven cotton patch behind the area before you sew anything new.
-
Cut the new loop. Measure the old loop, then add a little extra for turning under and stitching. Wax the ends of cord to stop fraying; for tape, fold and press the ends neatly.
-
Form the loop. Fold the cord or tape into a U shape. Pin it in place so the loop sits at the right height for the toggle — snug enough to hold, loose enough to fasten without a fight.
-
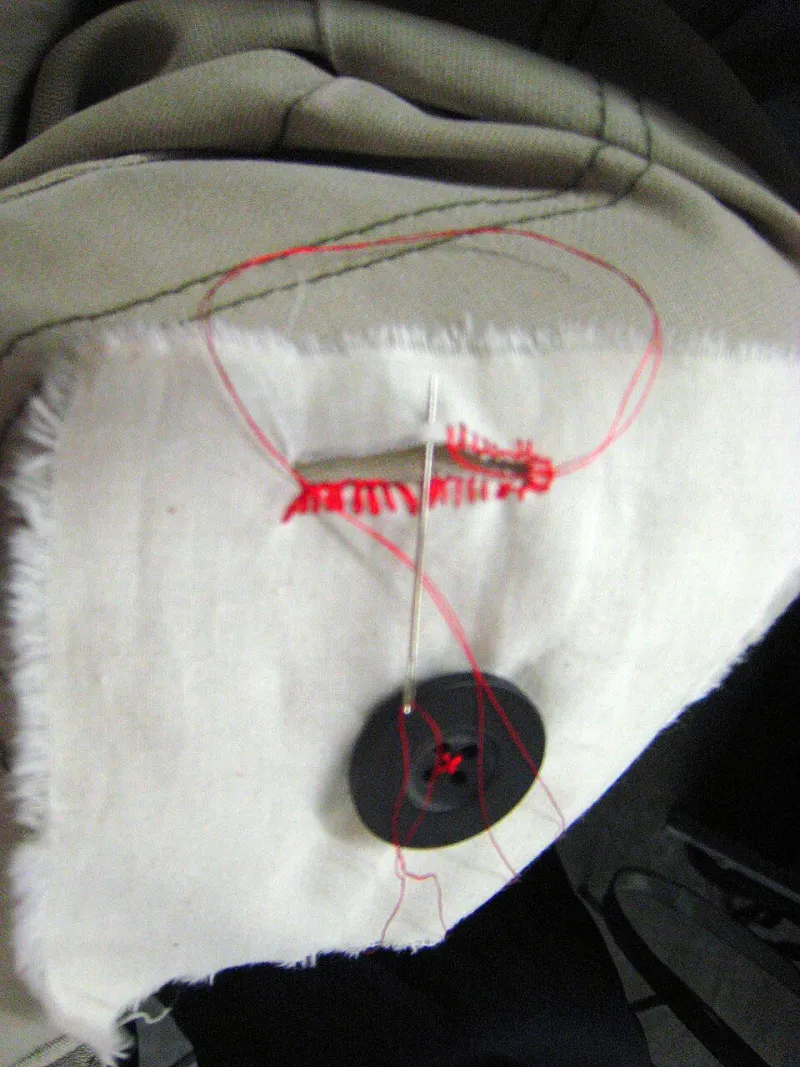
Stitch the anchor. Sew through the loop ends and the anchor bar with small, close stitches. Go through all layers, but do not pull so tightly that the loop bunches. A few backstitches at the end will secure the thread.
-
Finish the back. If the stitching shows on the inside, cover it with a small backing button or a neat patch of matching fabric. This also spreads the strain.
-
Test and adjust. Fasten and unfasten the toggle several times. The loop should hold firmly but not require a tug-of-war. If it is too tight, unpick and remake it slightly longer; if it slips off, shorten it a little.
Sourcing notes for makers and repairers
If you are buying toggles for a small batch of coats or offering a repair service, buy a few extra. Horn and wood vary, and matching a replacement to an existing set is far easier when you have spares in the tin. For repair work, keep a small selection of cord diameters and loop lengths rather than a single size.
UK suppliers vary enormously in the finish of their toggles. Ask for samples if you are buying in quantity, and check the hole or shank for rough edges. A five-minute rub with fine sandpaper and a touch of wax can transform a scratchy wooden toggle into one that feels properly finished.
For small makers, a toggle repair or replacement service is a lovely add-on to button repairs. Price it by the hour plus materials, and be honest about what the coat's fabric can support. A worn area may need reinforcing before a new loop will hold, and that is part of the job.
A small seasonal ritual
Before the first proper cold snap, run a thumb along each toggle loop on your winter coats. Look for fraying, loose stitching and any toggle that has begun to wobble. A few minutes with a needle and a length of waxed cord now can save you a miserable morning later, when the wind is doing its best and the coat refuses to close.
Toggles are quiet, practical things. They do not ask for much. But on a heavy winter coat, they are often the difference between a fastening that works and one that merely looks the part.