Woolly Rescue: Sew a Button-Back Cushion from a Felted Jumper

Photo: upcycled felted wool jumper cushion with button back sewing project, via www.hola.com
We have all done it. A favourite wool jumper goes into the machine with good intentions and comes out small, dense and slightly apologetic. The sleeves are shorter, the body is firmer, and nobody in the house is the right shape for it any more. Before you relegate it to the rag bag, consider the felted jumper cushion.
Felted wool is one of the kindest upcycling materials a sewer can ask for. It does not fray like a woven cotton, it holds a shape, and it has a lovely soft structure that makes a cushion feel substantial without being stiff. A button-back opening adds a handmade detail and makes the cover easy to remove. It is a proper winter make: warm, useful and just a little bit thrifty.
Why felted wool works for cushions
When wool fibres felt, they mat together into a dense fabric. That means you can cut curved or straight pieces without immediately worrying about every raw edge unravelling. The felted surface also hides small marks and gives the finished cushion a soft, slightly fuzzy texture that looks at home on a sofa or window seat.
Check the fibre content if you can. Pure wool and lambswool felt beautifully. Blends with a high wool content will often work too, but synthetic-heavy knits may simply stretch rather than felt. If your jumper has already shrunk in a hot wash, it is probably ready. If it is a charity-shop jumper that has not felted, wash it hot according to the label at your own risk, then dry it fully before cutting. Never put a felted jumper in a hot tumble dryer afterwards unless you want a cushion pad-sized piece of board.
Gather your kit
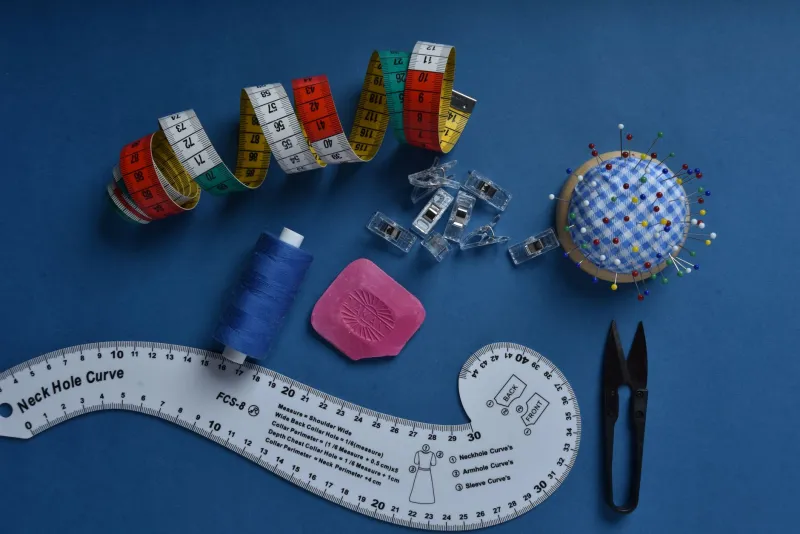
You will need one felted wool jumper in a size large enough to yield two main panels, a 45cm cushion pad, matching or contrast thread, a sewing machine or hand-sewing kit, pins or clips, fabric scissors, a ruler, tailor’s chalk, lightweight fusible interfacing and five chunky buttons around 20–25mm across. A buttonhole foot is helpful but not essential; you can also use a hand-sewn buttonhole or a hidden press-stud closure with decorative buttons on top.
Choose buttons with a bit of substance: horn, corozo, wood, metal shanks or chunky resin. Avoid thin vintage glass or very small buttons, which can disappear into thick felted wool. If you are making the cushion for a small business stall, keep a note of the button size and fibre content for your care card.
Step one: prepare the jumper
Cut away the sleeves and open the side seams so you have the largest possible flat pieces. Keep the ribbed hem and cuffs for another project; they make good coasters, jar cosies or sturdy button bands. Trim away any damaged areas. If the jumper has a large motif, decide whether it will sit on the front of the cushion or whether you want a quieter patch of wool.
Give the pieces a gentle press with steam, but do not iron felted wool hard or it will flatten and shine. A pressing cloth and a light hand are enough.
Step two: cut the cushion panels
For a 45cm cushion pad, cut one front panel 48cm by 48cm. This includes a 1.5cm seam allowance all round. For the back, cut two overlapping panels: one 48cm by 31cm and one 48cm by 24cm. The shorter panel will sit on top and carry the buttonholes; the longer panel will sit underneath and carry the buttons. When overlapped by about 7cm, the two back panels make the same 48cm height as the front.
If your jumper has a strong horizontal stripe or pattern, take a moment to line it up. Felted wool can look wonderfully intentional when the stripes run straight across the cushion. Use the ribbed hem as a ready-made edge if it fits your measurements, but remember that ribbing stretches, so reinforce it well.
Step three: strengthen the button opening
This is the step that makes the difference between a cushion that lasts and one that gapes after a month. Cut two strips of lightweight fusible interfacing about 6cm wide and slightly longer than the button-opening edge. Fuse one strip to the wrong side of the shorter back panel where the buttonholes will go, and one to the wrong side of the longer panel where the buttons will be sewn. Let everything cool, then trim the excess.
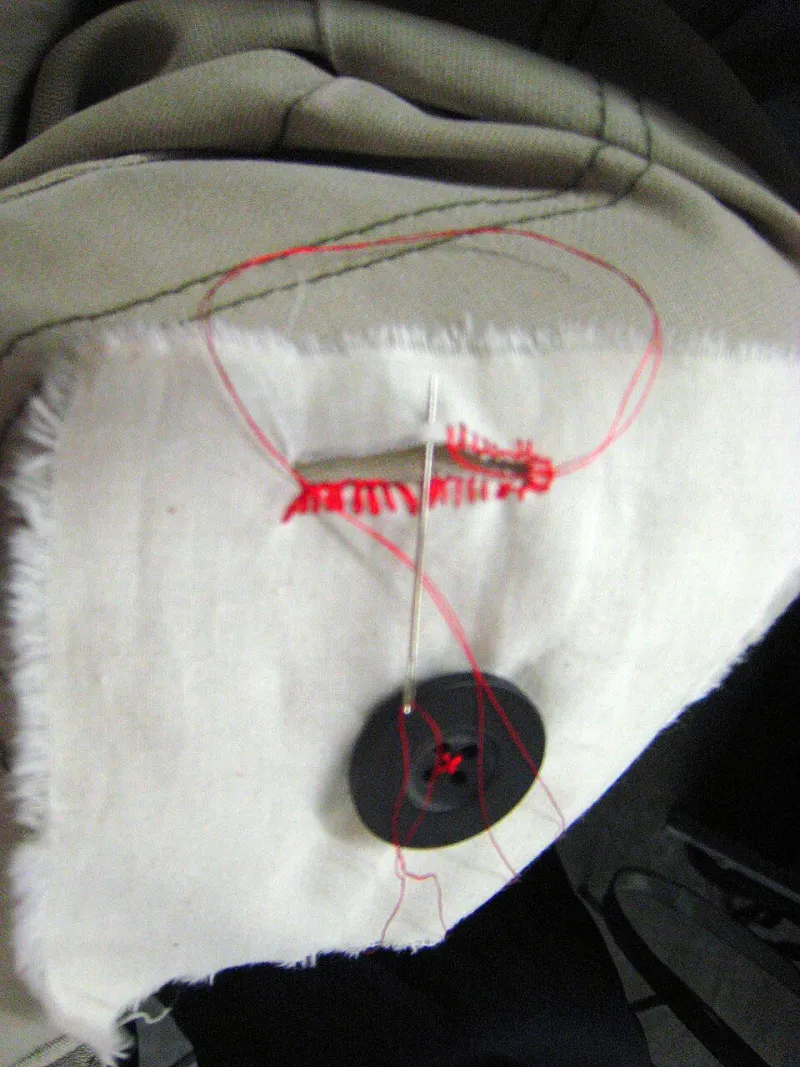
Mark five buttonholes evenly along the centre of the shorter panel, starting about 4cm in from each side. The buttonhole should be just longer than the button’s diameter. Always test a buttonhole on a scrap of the same felted wool first. Thick wool can swallow a buttonhole, so a little practice is time well spent. If buttonholes feel daunting, sew a hidden press-stud closure and add the buttons as decoration, sewn through both layers for a convincing finish.
Step four: assemble the cover
Place the front panel right side up on your table. Lay the shorter back panel right side down on top, aligning its top edge with the top edge of the front. Then lay the longer back panel right side down, aligning its bottom edge with the bottom edge of the front. The two back panels should overlap in the middle. Pin or clip all the way around the outer edge.
Sew around the perimeter with a 1.5cm seam allowance, backstitching at the corners. Clip the corners diagonally, but do not cut through the stitching. Turn the cover right side out through the button opening, use a blunt pencil or chopstick to push the corners out gently, and press the seams flat with a cloth.
Step five: add the buttons and finish
Mark the button positions on the longer back panel by pushing a pin through the centre of each buttonhole. Sew on the buttons with strong thread, using a small thread shank if they are thick. A cushion opening takes more strain than a cardigan placket, so sew through the interfaced area and knot firmly underneath. If the buttons are heavy, add a small backing button inside for extra support.
Insert the cushion pad through the opening, then button up. Give the cushion a good plump and settle the corners. The felted wool will soften with use, but the interfaced opening should keep its shape.
Styling the finished cushion
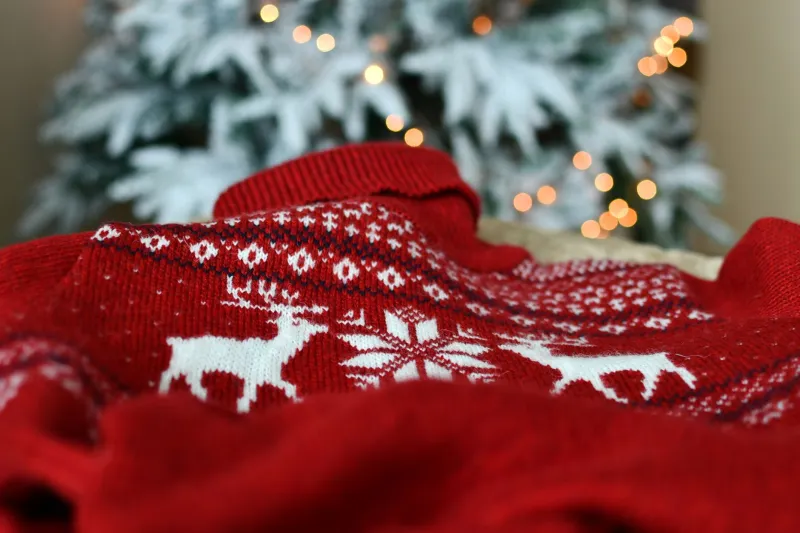
This is a winter make that likes contrast. A cream felted jumper with dark horn buttons looks quietly smart. A bright red knit with mismatched vintage buttons feels festive without being novelty. If you want a coordinated pair, use the jumper’s sleeves for the back panels and save the body for the front. The slightly different textures will look collected rather than identical.
Small makers can turn this into a lovely one-off product, but do be honest about the material. Label it as upcycled felted wool, include the fibre content if known, and add a care note. A handmade cushion with a visible button opening has a story, and customers respond to that.
Care for the cushion
Remove the pad before cleaning. Spot clean where possible, or hand wash the cover in cool water with a gentle wool detergent. Do not wring it. Roll it in a towel to remove excess water, then dry flat and reshape while damp. Keep it away from a hot radiator and never tumble dry it. Fasten the buttons before washing to protect the opening.
A felted jumper cushion is a small act of rescue. It takes a garment that had lost its purpose and gives it a new place in the house, with buttons doing the quiet work of holding it all together. That is a very ButtonBox sort of make.