Party-Season Knit Triage: Five Button Rescues for Festive Jumpers
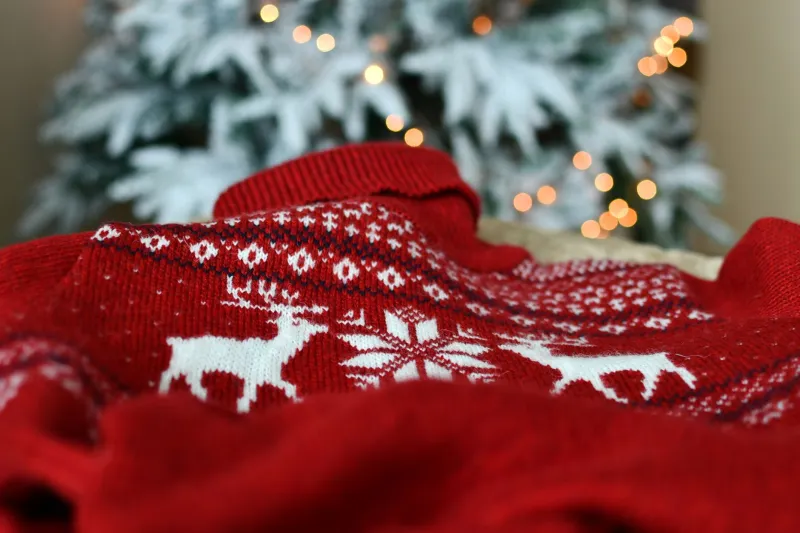
There is a particular sound that signals the start of party season: a button rolling across the kitchen floor while you are halfway into a festive jumper. It happens every November. On 8 November 2026, with invitations beginning to land and the heating clicking on, it is worth giving your winter knits a ten-minute once-over before the first mince pie is eaten.
This is not about perfection. A Christmas jumper with a little history is a good thing. But a button that lets go halfway through the office party is not. Think of this as a gentle triage: sort the wobbles from the disasters, fix what you can, and make the odd mismatch look like it was your plan all along.
Start with a two-minute button audit
Turn the jumper inside out and give every button a small, firm wiggle. You are checking three things: whether the thread is fraying, whether the shank is sitting flat against the knit, and whether the buttonhole or placket looks strained. Do not tug hard enough to make the problem worse. If a button is already loose, park it in a little pot and keep it with the jumper until you can sew it back.
Look at the spare button, too. Many knitwear labels include a tiny packet of matching thread or a spare button sewn inside a side seam. It is worth finding it now rather than in a panic on 23 December. While you are there, check the care label. Wool, lambswool and cashmere need a gentler wash than a cotton-blend novelty knit, and that affects how firmly you can afford to sew a button.
Rescue one: settle a wobbly button with a proper shank
A loose button on a knitted fabric is usually a thread problem, not a button problem. Sewing it flat and tight to the surface can pucker the knit and make the button pull straight back out. Instead, give it a little breathing room.
Use a strong polyester thread, doubled, and anchor it on the wrong side with a couple of tiny stitches. Bring the needle up through one hole, down through the other, and place a matchstick or a spare needle across the top of the button as you work. That keeps a small gap between button and fabric. Stitch through the holes a few times, then remove the matchstick, bring the needle to the underside of the button and wrap the thread around the new thread shank four or five times. Knot securely underneath. The button should sit slightly proud of the knit, not clamped down like a lid.
If the button has a ready-made shank at the back, simply sew through that loop rather than through the face of the button. Keep the stitches underneath neat but not fussy. No one will see them, and your knit will thank you.
Rescue two: replace a missing button without a matching set
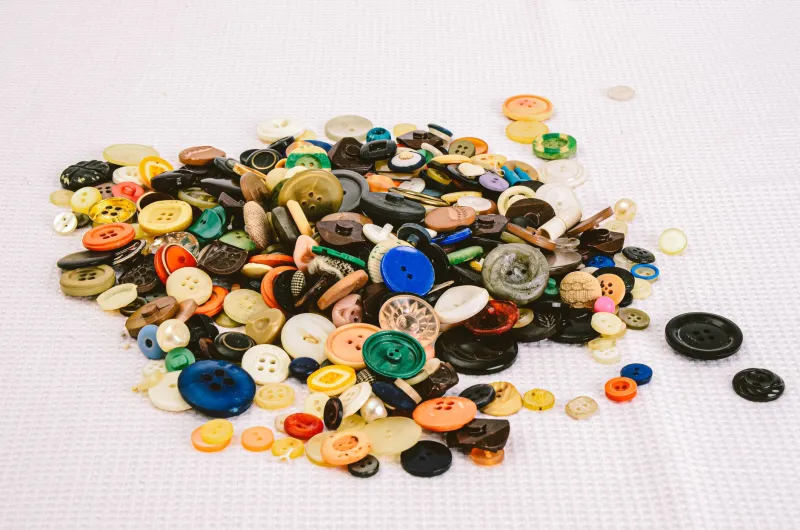
First, hunt for the runaway. Check the inside seam, the hem, the bottom of the washing basket and the little tin where odd buttons go to live. If you find a spare in the label packet, brilliant. If not, do not automatically replace the whole set. That can turn a five-minute repair into an afternoon.
Choose a button of the same diameter and similar weight. It does not have to be identical. In fact, a near-match in a slightly deeper shade often reads as intentional from a distance. If the missing button is on a gaping placket and you are heading out tonight, use a small safety pin from the inside to hold the opening closed. Pin it behind the button band so the metal sits between jumper and shirt, not on show. Remove it before washing, and sew the button on properly when you have daylight and a clear head.
For a more permanent emergency repair, sew a tiny press stud behind the placket if the button is decorative and the gap is the real problem. It is hidden, secure and much kinder to the knit than stretching the buttonhole.
Rescue three: make the odd button look deliberate
A mismatched button can look like a mistake or a design decision. The difference is confidence, scale and placement. Pick a vintage button that is the same size or slightly larger, with a similar shank depth, so it sits at the same height as its neighbours. A single horn or wood button on a red knit looks like a considered detail. A tiny pearl button on a chunky cable jumper looks lost.
If you are replacing one button on a cardigan or a button-through jumper, consider replacing two or three in a row instead. A little cluster of different-but-related buttons can look charming and collected rather than accidental. Avoid fragile glass or thin decorative buttons on heavy knits; they will not survive the strain. And if the jumper is a favourite, keep the old button in the tin. It is part of the jumper’s story now.
Rescue four: reinforce a strained placket before it tears
If the knit around a button looks pulled or the buttonhole is stretching, the fabric needs support. Cut a small square of lightweight fusible interfacing, about 3cm by 3cm, and fuse it to the wrong side of the knit behind the button. Let it cool before you sew. This gives the stitches something to grip and spreads the strain across a wider area.
On thicker knits, a patch of fine woven cotton works too. Keep it small and soft so it does not create a stiff little tile against your chest. Press rather than rub, and always test the interfacing on an inside hem first if the jumper is precious.
Rescue five: add a backing button for heavy or vintage buttons
Big buttons are lovely, but they can drag at a knit. A small flat backing button on the inside of the placket is a quiet hero. Sew through the front button, through the knit, and through the backing button in one go, then knot underneath the backing button. The strain is shared, the front button sits more evenly, and the knit is less likely to distort.
Use a backing button slightly smaller than the front one and keep it smooth, so it does not rub. This is especially useful on cardigans, where the buttonhole edge takes a lot of everyday wear. It also means you can use that beautiful vintage button you have been saving without worrying that it will pull through the wool.
Care tips so the jumper survives the wash
Fasten every button before washing. This keeps the placket from catching on other things and helps the buttonholes hold their shape. Turn the jumper inside out, pop it in a mesh laundry bag, and use a wool or delicate cycle at 30°C or lower. A short spin is fine; a hot tumble dryer is not. Dry flat, reshaping the sleeves and body while damp.
Skip fabric conditioner, which can soften wool fibres in ways you do not want. If the jumper has fragile vintage buttons, remove them before washing or hand wash instead. Keep a small spool of matching thread in your sewing box so a wobble never becomes a crisis. And if you find a spare button at a charity shop or in a jar, snap it up. The best button clinic is the one you have already stocked.
Party season is short. A little time with a needle now means you can reach for the festive jumper without a second thought, whether you are off to the pub, the school fair or the sofa with a plate of leftovers.