The Coat That Earns Its Buttons: A Winter Audit With Character in Mind
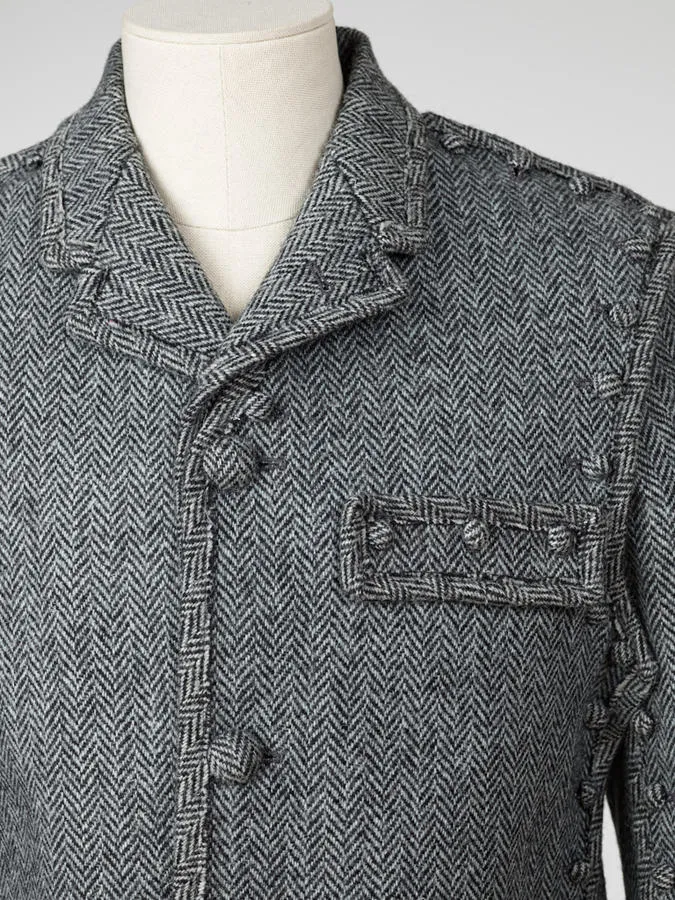
Photo: Staff photographer, Rhode Island School of Design Museum of Art, CC0, via Wikimedia Commons
Winter coats are not just outerwear. They are the garment we reach for in the dark, the one that carries us through school runs, station platforms and cold waits for buses. They collect a little of our history: the collar that softened, the pocket that holds a glove, the buttons that have done up and undone a thousand times. So when a button goes missing in November, it can feel less like a mending job and more like a small act of neglect.
The good news is that a coat button audit is one of the most satisfying repairs you can do. It is slow enough to be thoughtful, practical enough to make a real difference and, done well, it can give an old coat another decade of useful life. The aim is not to make the coat look new. The aim is to make it feel cared for.
Begin with a gentle audit
Set the coat on a table in good light. Do not tug at the buttons; simply look. Check each one for loose thread, a wobbly shank, a cracked rim or a missing centre. Look at the buttonholes too. A button that keeps coming undone may be the wrong size rather than badly sewn. Note the size in millimetres and, if you can, the ligne number. Count the buttons. Photograph the layout before you remove anything; coat buttons are often spaced unevenly to suit the cut, and a photo saves guesswork.
If one button is missing, check the lining and the pockets. Lost buttons have a habit of sliding into the space between the outer fabric and the lining. A quick feel along the hem can sometimes reunite you with the original.
Match the button to the coat's work
A coat button has a job to do. It has to hold two layers of wool together, pass through a buttonhole without a fight and look right doing it. Weight matters as much as colour. A heavy horn button on a lightweight coat will drag and distort the front edge. A thin plastic button on a thick wool coat will strain at the thread and feel flimsy in the hand.
For most winter coats, a button between 24mm and 32mm is a sensible starting point, but let the existing buttonholes guide you. The button should pass through the hole with a little resistance, not a shove. If you are replacing a full set, take one original button to the shop or compare online measurements carefully. At ButtonBox Supplies we are fond of corozo, horn and good-quality metal buttons for coats, but the right choice is the one that suits the cloth, the colour and the way you wear the coat.
Keep, restore or upgrade
There is a strong argument for keeping original buttons. They carry the coat's identity, especially on vintage pieces, duffle coats and tailored wool coats. If one button is cracked, try to find a matching vintage set before you change everything. If the thread has failed but the button is sound, resewing is often all that is needed.
Upgrading is a different decision. It can be lovely to replace a set of dull plastic buttons with warm wood, corozo or antique metal, but do it deliberately. A coat with a strong collar, dramatic pockets or a military cut can carry a more distinctive button. A simple, soft coat may look best with something quiet. If you do change the set, keep the originals in a labelled tin. Future you, or the next owner, may be glad of them.
Work around the lining with care
Coat buttons are usually sewn through the outer fabric only, but the lining can make access awkward. Turn the coat inside out and find the point behind the button. You should be able to slide your needle through the outer fabric without catching the lining. If the lining is loose, gently hold it away with your fingers. If it is stitched down, do not unpick it unless you are confident; a small slip stitch opening in a lining seam can be closed again later, but it is easy to make a mess.
Use a needle that is strong enough for the fabric but not so thick that it leaves a visible hole. A between needle or a strong sewing needle works well. Wax your thread if you have it; it reduces tangles and helps the thread sit neatly. Start with a knot hidden under the button or between the layers, and finish with two or three small backstitches under the button rather than a bulky knot on the surface.
Build a shank that saves the cloth
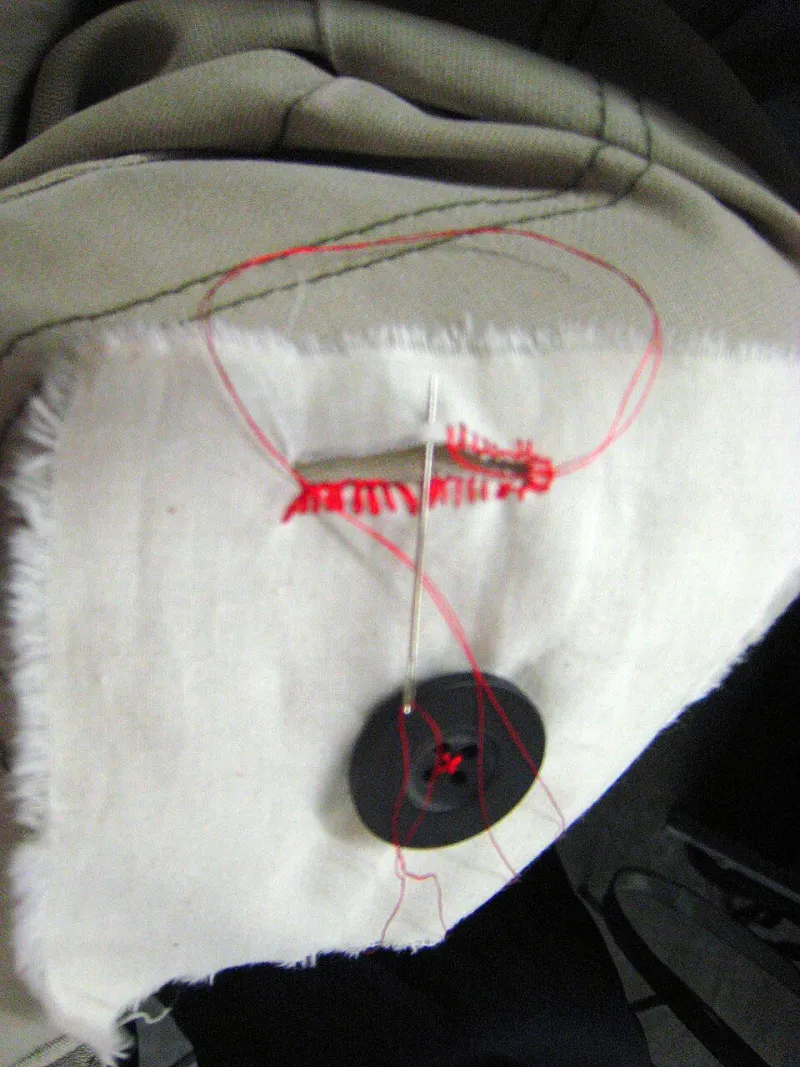
The thread shank is the quiet hero of coat button sewing. It is the small gap of thread between the button and the fabric that allows the button to sit over a thick buttonhole without pulling the coat out of shape. To make one, place a matchstick, a toothpick or a thick needle across the top of the button and sew over it. When the button is secure, remove the spacer and wrap the thread around the shank a few times. Secure the wrap and finish underneath.
This is especially important on wool coats, where a tight button can wear a hole in the cloth. A good shank spreads the strain and lets the button move naturally. It also makes the button easier to use with cold fingers.
Check the whole front, not just the missing button
Once the new button is on, do up the coat and look at the lie of the front edge. Does it hang straight? Do the buttons align with the buttonholes? Is there any pulling? A coat can reveal a sewing problem before you feel it. If one button sits higher or lower than its neighbours, adjust it now rather than after a winter of wear.
Finally, give the coat a gentle brush, check the pockets for old receipts and leave it to hang overnight. A re-buttoned coat should not look repaired. It should look looked-after.
If the coat is tailored, leather, heavily fused or historically important, know when to stop. A local tailor can often match a button or reinforce a facing in a way that home sewing cannot. But for most everyday coats, a careful audit and a well-chosen set of buttons is a job you can do at the kitchen table. It is a small act of respect for a garment that has already given you plenty.