Small Stash, Big Heart: Seven Gift Makes for Lone Buttons
Photo: handmade button brooch bookmark craft gift flat lay, via static.where-e.com
Every button tin has them: the lone buttons. The single mother-of-pearl disc that lost its friends, the bright red button from a charity-shop coat, the wooden one that was too nice to throw away. They are easy to dismiss as odds and ends, but at ButtonBox Supplies we rather like a singleton. One good button can be the whole point of a small gift.
The makes below are deliberately modest. They use short supplies, fit through a letterbox and suit batch production if you sell at markets or online. They are also generous. A handmade bookmark or a lavender sachet says someone thought about you, and that is worth more than a grand gesture. Skill levels are a rough guide: beginner means a quiet evening and a cup of tea; intermediate means a little patience and a few practice stitches.
1. A bookmark with a button tail
A simple fabric or leather bookmark with a button at the end is a lovely way to use one special button. It feels substantial in the hand and is far more charming than a bus ticket.
Notions: a strip of wool felt, cotton canvas or soft leather about 4 cm by 18 cm; one button; embroidery thread or strong sewing thread; a needle; pinking shears or a rotary cutter; optional ribbon.
Skill level: beginner.
Cut the strip, shape the ends, and sew the button near one end with a few firm stitches. If you are using fabric, a little fray check or a pinked edge keeps it tidy. For a small business, make a batch in coordinated colours and add a care card. Keep the button flat enough that it will not damage a book spine, and check that it slides nicely between pages.
2. A lavender sachet with a button closure
Lavender bags are a classic for a reason: they are useful, inexpensive and smell wonderful in a drawer. A single button can become the closure on a simple envelope-style sachet.
Notions: two squares of cotton or linen about 12 cm; dried lavender; a little wadding or rice to give weight; one button; a small elastic loop or a fabric loop; sewing thread; machine or hand needle.
Skill level: beginner.
Sew the squares right sides together, leaving a gap for turning. Turn, fill with lavender and a spoonful of wadding, then slip-stitch the gap closed. Add a loop on one side and a button on the other. For a more tailored finish, make a flap rather than an envelope closure. These are excellent for gift sets with a handmade soap or a drawer liner.
3. A one-button brooch
A brooch is probably the fastest way to turn a beautiful odd button into a gift. It can be as simple or as layered as you like.
Notions: one feature button; a brooch back or safety pin; a small circle of wool felt or sturdy cotton; strong thread; optional tiny beads, a scrap of lace or a second smaller button.
Skill level: beginner to intermediate.
Stitch the button to the felt circle, adding any smaller embellishments first. Sew the brooch back firmly through the felt, or use a safety pin if you prefer a no-glue finish. A little fabric glue can help secure the back, but always add stitching for security. These sell well as add-on gifts and use up tiny scraps beautifully.
4. A button keyring
A keyring blank plus one good button makes a practical little present. It is especially nice for a friend who appreciates a bit of pattern or a vintage look.
Notions: a keyring blank with a flat pad or a loop; one button; strong glue suitable for metal and plastic; a small piece of felt or leather; needle and thread; optional jump ring.
Skill level: beginner.
If the button has a shank, sew it firmly to a small felt shape first, then attach that shape to the keyring. If it is flat-backed, glue it to the pad and leave it to cure fully. Always test the keyring with a gentle tug before gifting. Avoid small, loose parts if the gift is for a child.
5. A button hair tie
Hair ties are small, useful and endlessly giftable. A button can turn a plain elastic into something that looks considered.
Notions: a strong hair elastic; one medium button; a small scrap of fabric; needle and thread; optional glue.
Skill level: beginner.
Wrap a narrow fabric strip around the elastic and stitch it closed, then sew the button securely to the wrapped section. Alternatively, sew the button to a small fabric cover and attach that to the elastic. Keep the button smooth and secure so it does not catch hair. These work best as small add-ons to a larger gift or as stocking fillers.
6. A drawer label with a button marker
A handmade drawer label is a quietly brilliant gift for a study, kitchen or craft room. A button can act as the marker or simply as decoration.
Notions: a luggage tag or a rectangle of stiff card; one button; a hole punch; string or twine; a fine-liner or stamped letters; optional clear self-cover film.
Skill level: beginner.
Write the label, punch a hole and thread through the twine. Sew or glue the button to one corner. If you want a reusable label, laminate it or cover it with clear film. These are inexpensive to batch-make and look lovely tied to a jar of buttons or a set of handmade drawer liners.
7. A visible patch with a button accent
Visible mending is having a moment, and a patch with a button is a charming way to repair or personalise a garment. It is also a small gift for someone who loves repair over replacement.
Notions: a fabric patch; Bondaweb or fine interfacing; one or two buttons; embroidery thread; a needle; small sharp scissors.
Skill level: intermediate.
Fuse or pin the patch over the damaged area, then stitch around the edge with a simple running or blanket stitch. Sew the button on top, either as a decorative accent or to reinforce a corner. Keep the stitching through the garment layers light so the patch stays flexible. This is a good project for using up small scraps and for showing off a particularly nice singleton.
Turning tiny makes into a small business
If you sell your work, these projects are best treated as a family rather than a random collection. Choose a colour story, a fabric base and a button style, then make in small batches. A bookmark, sachet and keyring can sit together in a gift set; a brooch and hair tie make a neat add-on pair. Price for your time, not just your materials, and include a care card that explains how to wash or refresh the item.
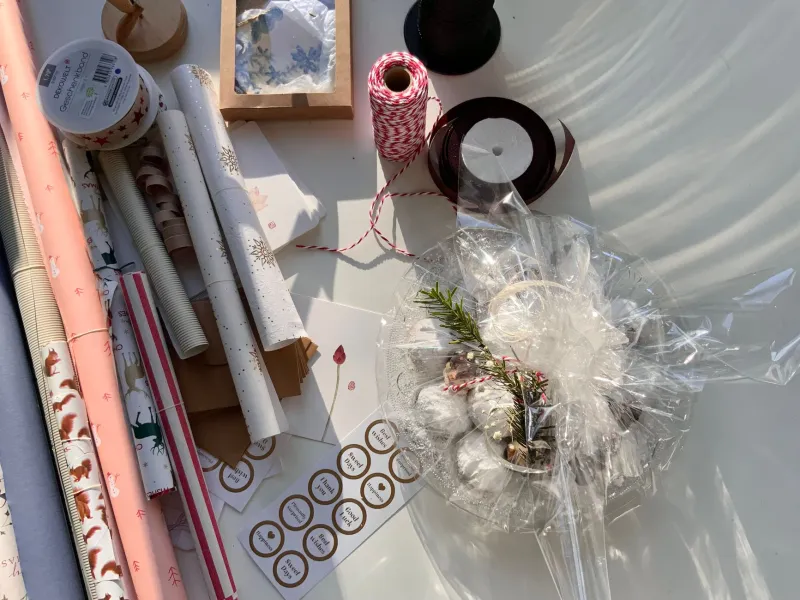
Packaging can stay simple: a glassine bag, a kraft tag and a length of jute twine are enough. Keep postage in mind and avoid bulky clasps or pins that could catch in the post. A little label with your business name and a note about the button's history — real or simply charming — adds the kind of detail customers remember.
Odd buttons are not a problem to be solved. They are a reason to make something small, useful and full of character. Start with one, see where it leads, and let the tin give up its singletons one lovely gift at a time.