Hidden in Plain Sight: Five Places a Backing Button Earns Its Keep

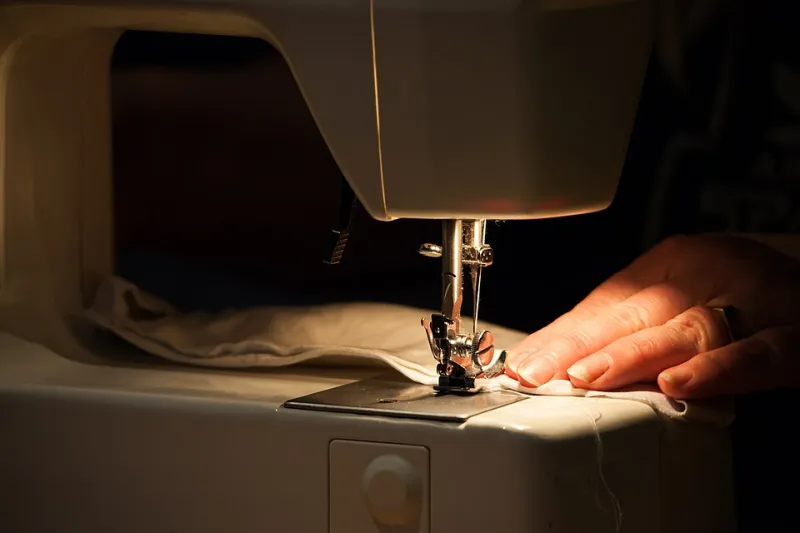
Photo: AndyScott, CC0, via Wikimedia Commons
There's a quiet bit of sewing that never gets photographed. It's the small, dull button hiding on the inside of a coat, directly behind the one everyone sees. It does nothing decorative. It exists so the visible button doesn't tear its way through the cloth before the winter is out.
Called a backing button, a stay button, or an anchor button depending on who taught you, it's one of those small interventions that makes a garment feel properly made. It costs a few pence and about two minutes, and it is almost always worth it — on the right garment.
What it actually does
When you fasten a button, the pull runs through a single layer of fabric gripped under a small disc. Over months, that pull works the cloth into a dip, loosens the shank, and eventually lets the button escape. Add a second button on the reverse, and the cloth between them becomes a sandwich. The load spreads across two patches instead of one, the cloth stops dimpling, and the button has something solid to be anchored to.
It's not a modern trick. It's standard practice on tailoring and heavy outerwear, and it's the reason a well-made coat from thirty years ago still has its original buttons.
1. The winter wool coat
This is the classic case. A British wool coating, a heavy melton, a bit of tweed from a mill shop — dense, beautiful, and entirely capable of letting a button pull through in a season of daily wear. Coat buttons are large, the cloth is heavy, and the strain is constant.
Use a flat button a few millimetres smaller than the visible one, in a colour that disappears against the lining. On a double-breasted coat, do the working buttons only; the decorative row can stay single.
2. The hand-knitted cardigan
Knitted fabric is the most forgiving cloth in the wardrobe and the least forgiving about buttons. A single button on a garter-stitch band will migrate, dragging the stitches with it and leaving a permanent halo of stretched yarn.
A backing button lets you anchor through the band without over-tightening, and it spreads the load across a wider area of knit. Choose a small, thin button — anything chunky on the inside will press against the wearer and show through as a lump. Shetland, aran, anything with a bit of weight to it: all benefit.
3. The bag that carries too much
Tote bags, satchels, and the bag you take to the market and then overfill. A button closure on a bag takes a load that garment buttons never see, because the button is doing the work of a clasp, not just holding two edges near each other.
On a heavy canvas or waxed cotton tote, put a backing button behind the closure and, if the fabric is loose-weave, slip a small square of interfacing behind it as well. On leather and faux leather, a backing button isn't enough on its own — you want a proper reinforcement patch, and honestly, a magnetic clasp.
4. Dungarees, aprons and anything that gets hauled
Any fastening that is used to pull a garment on and off rather than simply close it is under extra strain. Dungaree straps. Apron neck buttons. The side buttons on a work pinafore. These are the buttons that fail loudly and at the worst possible moment, usually while you're holding something hot.
Backing buttons here are cheap insurance, and they're invisible — nobody examines the inside of an apron bib.
5. Heavy-weight shirt and jacket fronts
A wool shirt, a chore jacket, a thick flannel. Not because the cloth is delicate, but because these garments are worn open and closed constantly through the day, and because their buttons are usually on a placket where a failure is very visible.
A backing button is also useful on any garment where a button has already been re-sewn once. The second repair is your signal that the cloth, not the thread, is the weak point.
When it's overkill
Most shirtings don't need one. A cotton poplin front with a properly interfaced placket and a decent thread shank will outlast the shirt. Lightweight jersey, fine silk and anything with a delicate hand will be distorted by a second button more than it will be helped.
Skip it as well on tiny decorative buttons, on any button sitting on a narrow band where a backing button would land on a seam or a facing edge, and on close-fitting garments where a bump on the inside will show through as a shadow. And if you're sewing for a small child, keep the inside as flat as possible — comfort beats theory.
Sewing it so nobody notices
- Pick a thin, flat button. Two to four millimetres smaller than the visible one is ideal. If the visible button is already flat, the same size works.
- Match the thread to the garment lining, not the visible button. The inside should whisper, not announce.
- Sew the visible button first, complete with its thread shank, then take the needle through to the back and add the backing button through its own holes.
- Catch only the outer cloth. On a lined coat, work through the coating and its interfacing but not the lining, or the two will pull against each other when the coat moves.
- Leave a hair of slack. If you cinch the backing button tight, you'll pucker the cloth and create the very dimple you were trying to prevent.
- Finish with a couple of small backstitches between the layers. No knot on the inside where it can rub.
Two minutes, one odd button, and a fastening that behaves like it was built to last. It's not glamorous work, but it's the sort of sewing that quietly keeps everything else in service — which, in a button box economy, is exactly the point.