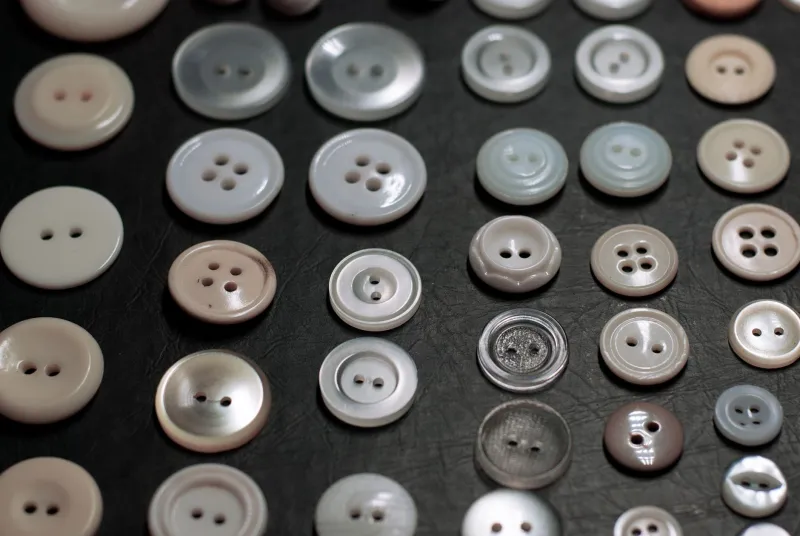
The Working Shelf: Storing Buttons Where You Can Actually See Them
There is a particular moment in every button collector’s life when the collection stops being a charming little pile and starts being a storage problem. It usually happens in a small home, on a rainy afternoon, when you open a biscuit tin and find three more biscuit tins inside it. Buttons are small, which makes them easy to keep — and easy to lose track of. The goal isn’t to hide everything away in the name of tidiness. It’s to make a shelf that works: one where you can see what you have, protect what matters and actually reach for a button when a cardigan needs rescuing.
Start with a ten-minute triage, not a full sort
Before you buy a single jar, empty the tins onto a tea towel and make three loose piles. The first is working buttons — the ones you genuinely use for repairs and projects. The second is waiting buttons — lovely things with no plan yet. The third is sentimental — the ones from a grandparent’s sewing box or a coat you wore to death. This isn’t a full catalogue. It’s a way of noticing what you have and what you keep reaching for. Most of us find that the working pile is much smaller than we expected, and the waiting pile is much bigger.
Clear jars are lovely, but give them a little shade
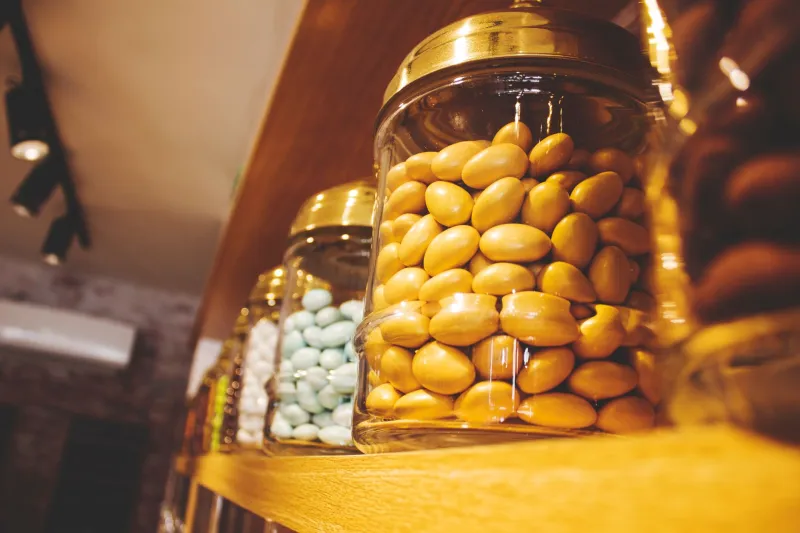
Glass jars are the classic button storage solution for a reason. They’re cheap, they stack, they let you see the colours and they look charming on an open shelf. Kilner jars, spice jars and clean jam jars all work well. The caveat is daylight. Buttons made from celluloid, horn, painted metal and some early plastics can fade or discolour when they sit in direct sun for months. If your shelf catches the afternoon light, use amber or blue glass, keep the jars slightly back from the window, or store the most treasured pieces in a cupboard and rotate them out. A lid also keeps dust off, which matters more than many of us admit — dust settles into shanks and dulls a good finish.
Leave a little breathing room in each jar. Overfilled jars make it hard to tip a single button into your hand, and they put pressure on delicate rims. Group by colour if you like the look, or by size if you sew often. Either is fine, as long as you can find what you need without emptying the lot.
Tins, trays and the quiet joy of compartments
Not everything needs to be on display. Small shirt buttons, shanked buttons and anything fiddly are much easier to manage in compartments. A vintage tin with a few sections, a bead box from a craft shop or even a clean ice-cube tray inside a drawer all do the job. Line the base with a scrap of felt to stop the rattle, and write the contents on the lid with a chalk pen or a strip of masking tape. There is something deeply satisfying about opening a tin and finding exactly the buttons you expected, rather than a small avalanche.
Keep one small tin in your sewing basket as a working stock — a few neutral buttons, a couple of statement ones, a needle and a spool of thread. That way you’re not hauling the whole collection out for a five-minute repair.
The labelled box system for the overflow
Most collections have an overflow: the buttons you’re not ready to sort properly, the ones waiting for a project, the inherited ones you can’t yet decide about. Clear shoeboxes or Really Useful Boxes are ideal, especially if you label them clearly. Use a chalk pen on the side, or a strip of tape with a short description: “small brown”, “coat buttons”, “grandma’s tin”. Keep a simple index card inside the lid if you like — it saves digging. Store these boxes high up or under the bed, and keep a smaller “next projects” box within easy reach so the overflow doesn’t become a graveyard.
Renter-friendly wall displays that don’t need a drill
If you want your buttons visible but your walls are rented, there are plenty of gentle options. A shallow shadow box frame with a glass front makes a lovely display for a dozen favourite buttons, and it protects them from dust. A fabric-covered pinboard or a length of linen stretched over a canvas can hold cards of buttons with pins or clips. A magnetic board works well for metal tins and small trays. Command strips, over-door hooks and leaning shelves avoid drilling altogether. Rotate the display seasonally: winter buttons in December, shell and pale ones in summer. It keeps the shelf feeling fresh and stops any one piece sitting in sunlight for too long.
Dust and daylight: the two quiet enemies
Dust is easy to overlook. It works its way into shanks, dulls lustre and makes dark buttons look grey. Lids, glass fronts and closed boxes solve most of it. Daylight is slower but more permanent. Keep the most precious buttons away from a south-facing windowsill, and if you’re displaying in a conservatory or very bright room, consider UV-filtering glass or simply rotate the display every few months. A curtain is a perfectly good conservation tool.
Make it usable, or it becomes decoration
A shelf of buttons should invite you to sew. Keep a small working tray — a shallow dish or tin — with a few buttons, a needle and a spool of thread. When you use something, put it back. Try a gentle one-in-one-out rule for new purchases if space is tight. And leave a little empty room on the shelf. A collection with breathing space is easier to use, easier to dust and much more likely to stay out in the open where you can enjoy it. That’s the real point: not a perfect display, but a working shelf of small treasures that earns its place in a small home.